 Save
Save My roommate burst into the kitchen one afternoon with her laptop open to Cookie Run Kingdom, insisting we recreate Pure Vanilla Cookie as actual cookies. I'd never played the game, but watching her describe this elegant character with flowing white robes and that serene expression made me curious enough to try. We spent the next few hours mixing, rolling, and decorating, and by evening, our kitchen was covered in powdered sugar and tiny bottles of gel food coloring. The result wasn't just cookies—it was edible fan art that tasted genuinely delicious.
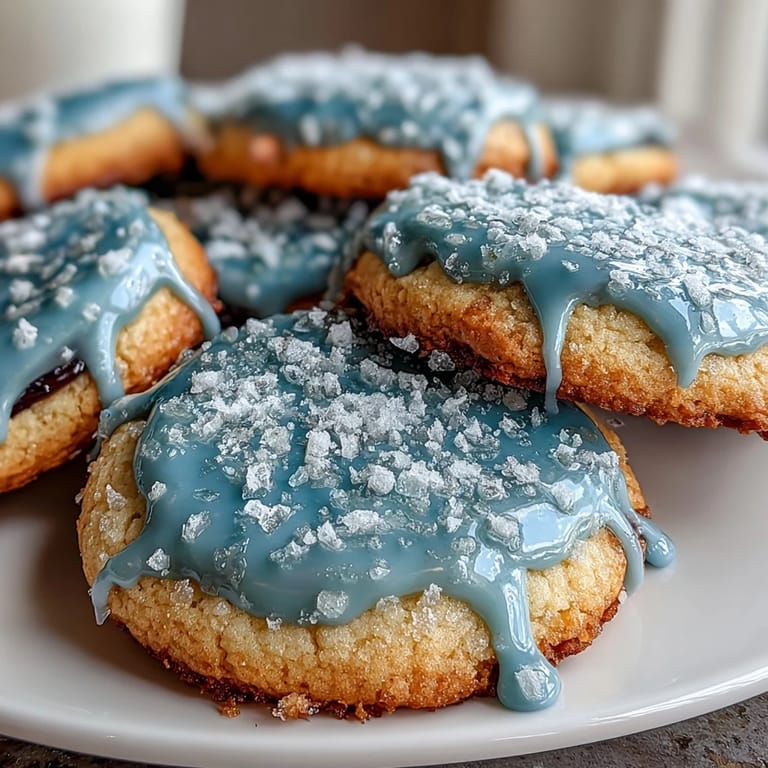
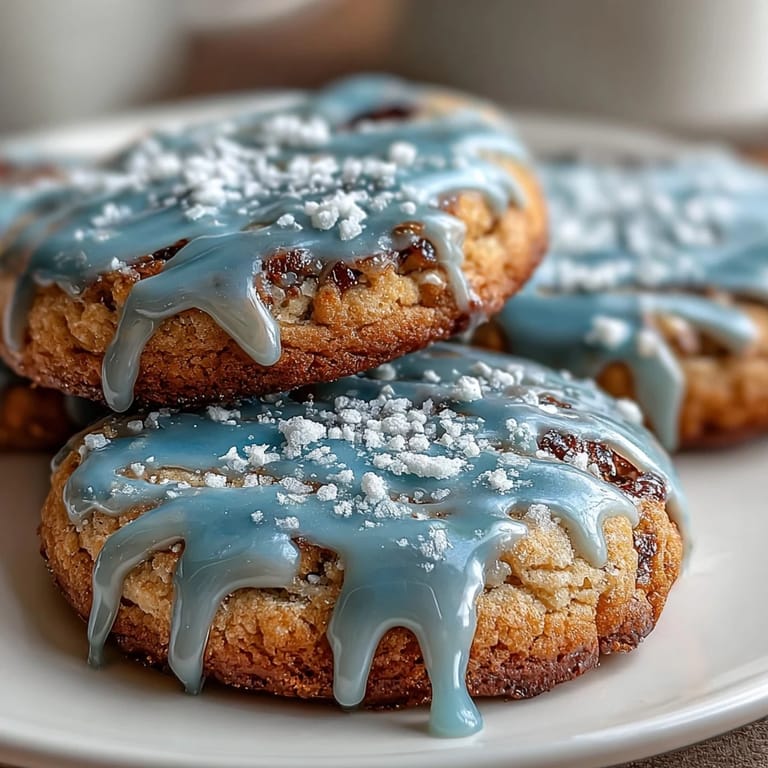
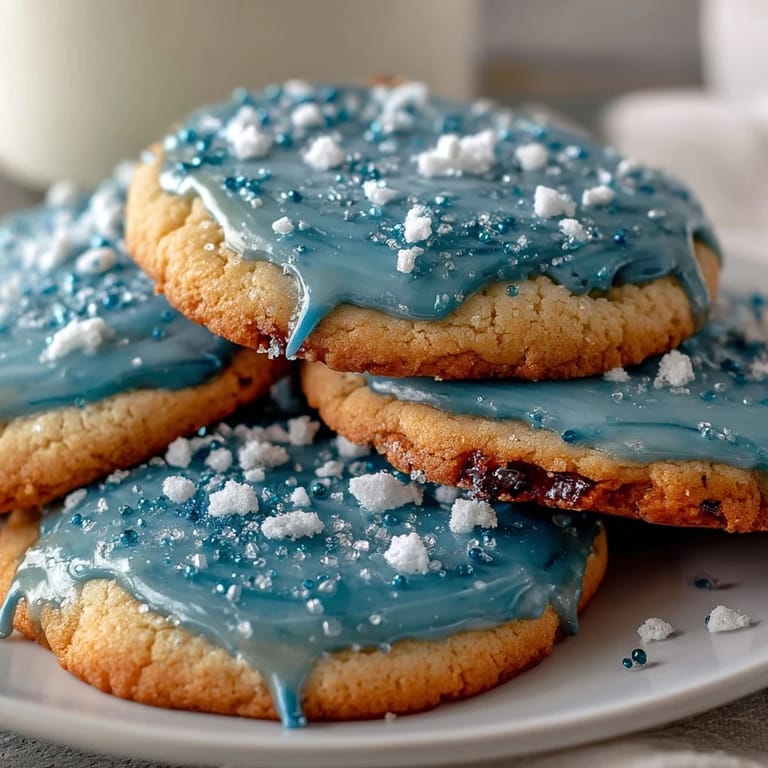
I'll never forget my friend's face when she saw the finished cookies lined up on the counter in their soft blues and golds, each one catching the light like tiny edible jewels. She immediately started photographing them from every angle, and then the real test came—tasting one. The vanilla was clean and bright, the texture tender but not crumbly, and the icing snapped satisfyingly between your teeth. That's when she declared them "way better than the game character," which felt like the highest possible compliment.
Ingredients
- All-purpose flour: The foundation that needs to be measured by weight for consistency—I learned this the hard way when I overpacked a cup and ended up with tough, dense cookies.
- Baking powder: Just enough to give the cookies a subtle lift without making them cake-like; this is the secret to that perfect tender crumb.
- Unsalted butter: Room temperature is non-negotiable here, as cold butter won't cream properly and you'll lose that light, fluffy base.
- Granulated sugar: This sweetens and helps create structure; I don't recommend substituting with brown sugar unless you want a chewier texture.
- Egg: Acts as a binder; make sure yours is at room temperature so it incorporates smoothly into the butter mixture.
- Pure vanilla extract: Not vanilla-flavored—pure extract makes all the difference in the final taste, creating that clean, sophisticated vanilla note.
- Powdered sugar and meringue powder: These combine to create that signature hard, glossy icing that feels almost ceramic when it sets.
- Gel food coloring: Liquid coloring will thin your icing too much, so gel is really the only way to get those vibrant Pure Vanilla Cookie blues and golds.
Tired of Takeout? 🥡
Get 10 meals you can make faster than delivery arrives. Seriously.
One email. No spam. Unsubscribe anytime.
Instructions
- Combine your dry ingredients:
- Whisk flour, baking powder, and salt in a bowl until they're evenly distributed. This prevents lumps from hiding in the dough once everything comes together.
- Cream butter and sugar until fluffy:
- Beat them for a full 2 to 3 minutes until the mixture looks pale and airy—you're basically whipping tiny air pockets into the butter that will make your cookies tender. Don't rush this step; it's worth the time.
- Add your wet ingredients:
- Mix in the egg, vanilla, and milk until just combined. The milk helps keep the dough from being too dry while maintaining that delicate texture.
- Bring the dough together:
- Gradually add the dry ingredients to the wet mix, stirring just until everything comes together. Overmixing develops gluten, which makes cookies tough, so fold gently.
- Chill the dough:
- Wrap your dough disks in plastic and refrigerate for at least an hour; cold dough won't spread as much in the oven and holds its shape beautifully for decorating.
- Prepare your oven and workspace:
- Preheat to 350°F and line your baking sheets with parchment paper. A lightly floured surface keeps the dough from sticking to your rolling pin without adding extra flour that would toughen the cookies.
- Roll and cut with precision:
- Roll dough to exactly 1/4 inch thick—thicker cookies stay softer, while thinner ones become crispier. Cut whatever shapes match your Cookie Run Kingdom vision.
- Space and bake:
- Leave about an inch between cookies so they can bake evenly without touching. Bake for 10 to 12 minutes until the edges just barely turn golden—they'll continue cooking slightly after you remove them.
- Cool properly:
- Let cookies sit on the baking sheet for 5 minutes so they firm up, then transfer to a wire rack. Cooling completely is essential before icing, or the icing will melt right off.
- Make your royal icing:
- Combine powdered sugar, meringue powder, vanilla, and water, then beat on low speed until smooth and glossy. Add water gradually—it's easier to make icing thinner than thicker, so go slowly.
- Tint and decorate:
- Divide icing into bowls and add gel coloring drop by drop until you reach the shade you want. Use piping bags for details or squeeze bottles for quick coverage, letting your artistic instinct guide you.
- Let icing set:
- This can take a few hours, but the wait is worth it—the icing hardens into that satisfying, protective shell that makes these cookies feel special.
 Save
Save There's a particular magic that happens when someone hands you a homemade cookie that's decorated with care—suddenly it's not just a snack, it's a small gift that took real time and thought. My friend ended up making three batches of these to give to her gaming friends, and I watched her package them in a box lined with tissue paper like they were tiny edible treasures. That moment reminded me why baking beats almost any other way of showing someone you care.
The Vanilla Question
Pure vanilla extract tastes completely different from anything labeled "vanilla-flavored" or "imitation vanilla," and this recipe is where that difference shines brightest. I once accidentally grabbed imitation vanilla in a rush, and the cookies tasted like sugar with a vague vanilla-adjacent flavor—flat and forgettable. The next batch with pure extract was luminous by comparison, with a warmth and complexity that made people actually pause and taste it rather than just eat it mindlessly.
Working With Royal Icing
Royal icing has a learning curve, but once you understand how it works, decorating becomes surprisingly meditative. The moment the consistency is right—thick enough to hold a peak but fluid enough to pipe smoothly—everything clicks. I've found that working in a cool kitchen helps; warm environments make icing stick to the piping bag and behave unpredictably.
Creating Your Pure Vanilla Cookie Theme
The canonical Pure Vanilla Cookie wears robes of flowing white with hints of soft blue and gold, so lean into that color palette without overthinking it. You don't need artistic perfection—even simple stripes, dots, or solid-colored cookies look gorgeous when the icing is glossy and your colors are intentional. The game gives you a template, but your kitchen creativity is what makes these uniquely yours.
- Mix white icing first and use it as your base color to keep other shades cleaner.
- Let each color layer set for at least 15 minutes before applying the next if you're doing detailed designs.
- Store decorated cookies in an airtight container separated by parchment paper so the icing doesn't stick to the next layer.
 Save
Save These cookies have a way of turning a simple afternoon into something memorable, whether you're playing a game, celebrating a friend, or just enjoying the quiet focus of decorative work. I hope your kitchen smells as good as mine did, and I hope someone you love gets to bite into something you made with your own hands.
Recipe Questions & Answers
- → How do I achieve crisp edges and soft centers?
Chill the dough thoroughly before rolling and avoid overbaking by watching for golden edges, ensuring a perfect texture contrast.
- → What makes royal icing glossy and firm?
Combining powdered sugar with meringue powder and adjusting water ensures a smooth, shiny texture that hardens when set.
- → Can I customize the icing colors?
Yes, use gel food coloring to tint the icing in vibrant shades that suit your theme or occasion.
- → How should I store decorated cookies?
Keep cookies in an airtight container at room temperature to maintain freshness and icing quality for up to one week.
- → Are these cookies suitable for vegetarians?
Yes, the ingredients used do not include meat products, making them compatible with a vegetarian diet.